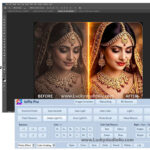
Alien Skin Eye Candy 7 is a Photoshop effects plugin that helps designers create realistic textures, attractive lettering, glowing edges, and decorative effects without building everything from scratch. It can be useful for graphic designers, photographers, wedding album designers, and anyone who wants to add a special touch to text, logos, or images.
In this guide, you can explore its main features, available effects, system requirements, installation steps, and official trial options. You can also browse more Photoshop add-ons and effects to find tools that suit your editing workflow.
Overview of Alien Skin Eye Candy 7
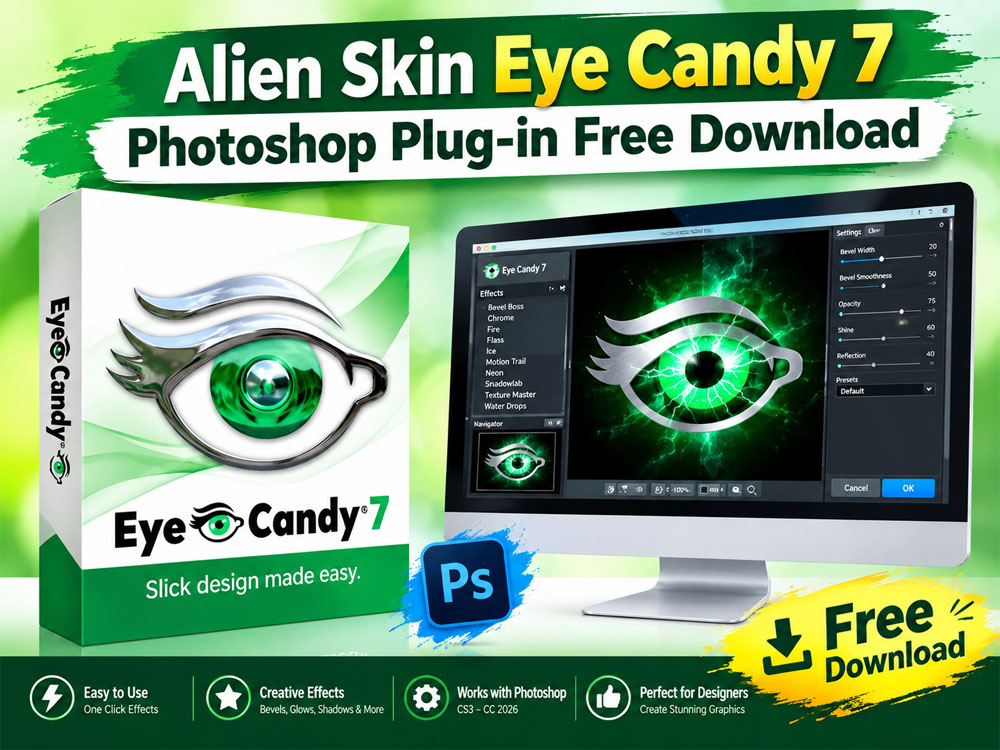
Originally developed by Alien Skin Software, Eye Candy 7 is a special-effects plugin made for Adobe Photoshop. It brings different effect categories into one workspace, allowing users to explore visual styles through icons and previews instead of searching through several text-based menus. Its effects can help turn ordinary lettering, logos, and graphic elements into designs with more depth, texture, and detail.
The software includes effects such as Fire, Chrome, Lightning, Smoke, Animal Fur, and Reptile Skin. It also offers preset browsing and controls for adjusting the final result. These options can save time when designing album titles, photo backgrounds, promotional graphics, and decorative text. The plugin is not a standalone photo editor, so you need a compatible host application to use it.
Key Features of Eye Candy 7
The main strength of this plugin is its collection of ready-made effects. Instead of creating every texture or lighting detail manually, designers can choose an effect, preview different styles, and adjust the result to suit their artwork.
- Fire Effects: Add flame-style effects to text, logos, and selected graphic elements.
- Chrome and Metal: Create shiny lettering, metallic surfaces, and dimensional-looking design elements.
- Lightning: Add dramatic electrical effects to titles and creative compositions.
- Smoke Effects: Build atmospheric effects for backgrounds, posters, and photo compositions.
- Animal Fur: Apply detailed fur textures to suitable objects and artwork.
- Reptile Skin: Create scale-like textures for decorative graphics and creative projects.
- Glass and Bevel Effects: Give selected elements a more dimensional or polished appearance.
- Visual Preset Browser: Explore effect categories and preview different styles quickly.
- Custom Effect Controls: Adjust available settings to create a look that suits the design.
- Flexible Photoshop Workflow: Use supported layer-based workflows to keep effects separate from the original artwork where possible.
These features are useful for both small design adjustments and more noticeable visual treatments. The best results usually come from choosing an effect that fits the artwork instead of applying several strong effects to every element.

Eye Candy 7 Photoshop Effects: Common Uses
Different effects work better for different types of artwork. A chrome finish may suit a bold title, while smoke or clouds can help build atmosphere in a background. Fire and lightning are more suitable for dramatic designs where the effect needs to stand out.
- Wedding Album Design: Create decorative title treatments, metallic lettering, and textured elements for selected layouts.
- Photo Editing: Add special effects to suitable images or individual elements while keeping the original composition in mind.
- Logo and Text Design: Experiment with chrome, bevel, and other finishes for headings and graphic elements.
- Poster and Banner Design: Give titles a stronger visual appearance with suitable textures and lighting effects.
- Digital Artwork: Combine textures and other visual treatments to develop a more distinctive style.
For photographers preparing complete wedding or portrait albums, the effect is only one part of the job. You can also explore these album designing software options when looking for tools to help with the overall album-making process.
For photo album designers, subtle effects are often more useful than extremely bright or heavy treatments. A metallic title or a carefully placed glow can add depth without distracting viewers from the photographs.

How the Preset Preview Works
One useful part of the interface is its visual approach to selecting effects. Rather than opening a long list of options and guessing how each one will look, users can browse effect categories and preview available presets inside the plugin window.
The preset navigator makes experimentation easier by updating the preview as you explore different options. This is helpful when comparing several styles for the same text or graphic element. After choosing a suitable preset, adjust its controls where available and inspect the result before applying it to the final design.
For a cleaner workflow, keep the original artwork on a separate layer whenever possible. Work on a duplicate or use a supported non-destructive option so that you can revise the design later without rebuilding it from the beginning. If you also use masks and editing shortcuts, our guide to the Pro Panel for mask-based Photoshop editing may be useful for exploring a different part of the editing process.
System Requirements and Compatibility
Compatibility depends on the plugin build, operating system, and host application. Before installing an older copy, compare its requirements with the information provided by the manufacturer.
- Windows: The current official product page lists Windows 10 or Windows 11 with a 64-bit edition.
- Mac: The official page lists macOS 10.13 High Sierra or newer.
- Processor: Check the processor requirements for the specific installer and your operating system.
- Photoshop: The current official page lists Photoshop CS6 and Photoshop CC 2015 or newer.
- Display: A screen resolution of at least 1280 × 768 is listed.
The current official host requirements do not list Lightroom as a supported application. If you are using an older version of Photoshop, Photoshop Elements, or another editing program, check the requirements for your exact installer before proceeding.
How to Install Eye Candy 7
Follow these steps when installing a compatible and authorized copy of the software.
- Check compatibility: Confirm that your operating system and Photoshop version meet the requirements for your specific installer.
- Download the installer: Obtain the appropriate installer from the official product or trial page.
- Close Photoshop: Save your work and close the host application before starting the installation.
- Run the installer: Follow the setup instructions and select the appropriate host application or plugin location if the installer provides those options.
- Open Photoshop again: Once installation is complete, launch your compatible version of Photoshop.
- Find the plugin: Look for Eye Candy in Photoshop’s Filter menu. Its exact menu label can vary by build and installation.
- Test an effect: Open a test image, choose a suitable layer, and apply a simple effect to make sure the plugin is working correctly.
If the installer does not recognize your Photoshop installation, do not copy random plugin files into different folders. Check the installation instructions for your particular build first.
Common Installation Problems and Solutions
Eye Candy Does Not Appear in the Filter Menu
Confirm that the plugin was installed into a location recognized by your Photoshop version. Close and reopen Photoshop after installation, and check whether the installer supports your host application and system architecture.
The Plugin Shows a Compatibility Error
This may happen when an older installer is used with a newer operating system or an unsupported Photoshop release. Check the vendor’s compatibility information and use a supported installer rather than assuming that every Eye Candy 7 build works on every system.
The Effect Looks Different From the Preview
Try the effect on a suitable layer and inspect the artwork at a useful zoom level. Text size, image dimensions, layer content, and individual effect settings can influence the final appearance. Make small adjustments until the result fits the design.
The Installer Does Not Match the Advertised Version
Check the version shown by the actual installer and, where available, the plugin’s About information. The filename of an archive alone is not enough to confirm its version or compatibility.
Eye Candy focuses on decorative effects, while other photo-editing tools are designed for different tasks. For example, you can read about the Perfectly Clear photo enhancement tool if your workflow also involves automatic image corrections and improvements.
Winrar File Password: www.freegfx4u.com
Frequently Asked Questions
Is Eye Candy 7 free to use?
The software is commercially offered by Exposure Software, which provides an official trial option. Check the manufacturer’s current terms to understand what is available during the trial and what requires a paid license.
Can I use it with the latest version of Photoshop?
Check the requirements published for the specific plugin build and your Photoshop version. The manufacturer’s current product page lists Photoshop CS6 and Photoshop CC 2015 or newer, but an older installer may behave differently on newer systems.
Does Eye Candy 7 work in Lightroom?
Lightroom is not listed among the host applications on the current official product page. Check directly with the manufacturer before relying on Lightroom compatibility.
Is Eyecandy 7 the same software?
Yes. Eyecandy 7 is an alternative spelling often seen in searches and older posts. The official product name is Eye Candy 7.
Is Alien Eye Candy a separate plugin?
The phrase “alien eye candy” may be used as a shortened search term for the Eye Candy software family. Check the actual product name and version before installing a file, especially when its source is unfamiliar.
What can I create with Eye Candy Photoshop effects?
You can use supported effects to create decorative lettering, metallic finishes, realistic textures, flames, lighting effects, and other graphic treatments. The final result depends on the selected effect, the artwork, and the settings you apply.
Eye Candy 7 is most useful when a specific effect can improve the design without overpowering it. Check compatibility before installation, experiment with presets on a duplicate layer, and choose effects that suit the final artwork.
Note:
If you’re facing issues with downloading the file such as "it may take up to 24 hours to be able to view or download the file" So please ensure you are logged into your Google account before attempting to download. This usually resolves the issue and allows you to download the file without any waiting time.